Props
Attaching and animating props with characters using point deform
Overview
Learn how to attach and animate props with character animations in Houdini using point deform. This workflow shows how to properly set up prop attachments that follow character motion while maintaining proper positioning and orientation.
Visual Setup
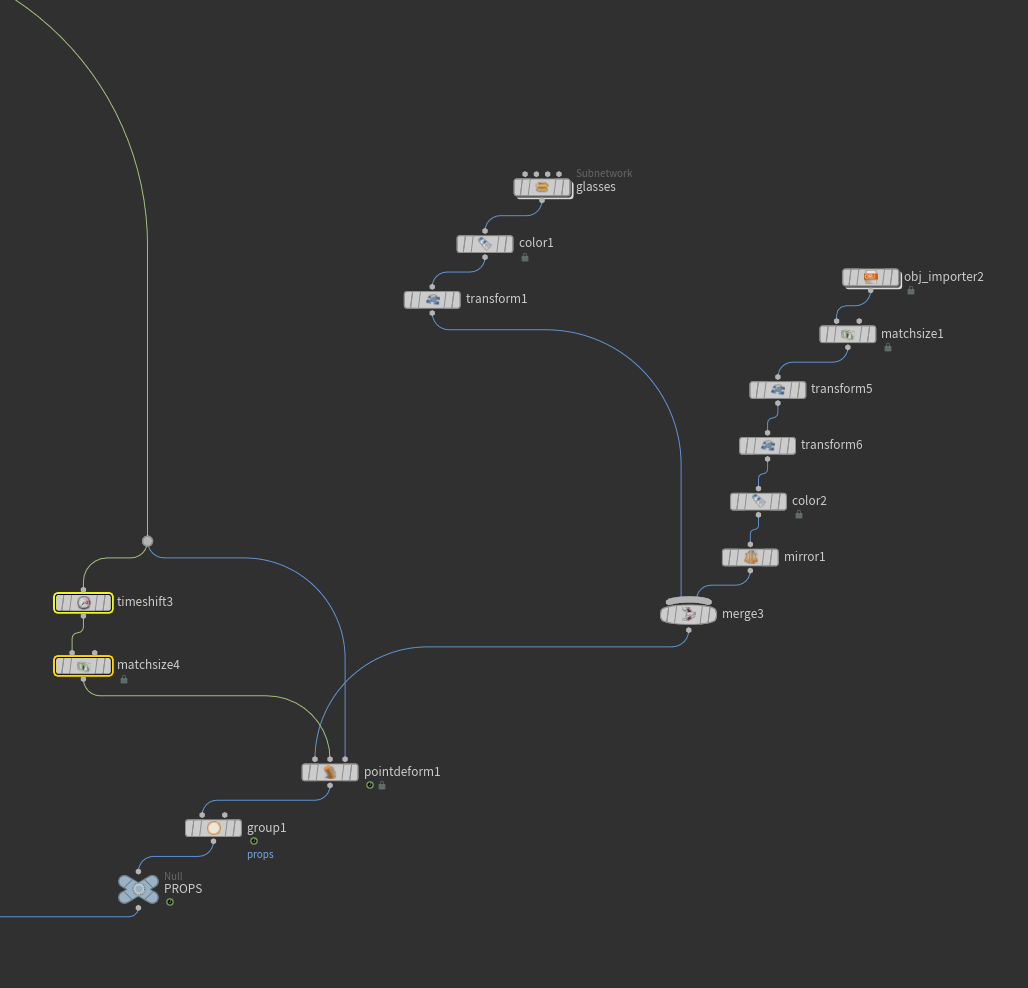
Character setup with prop attachment points and point deform configuration
Prop Setup Process
1. Preparing Props
- Import or create the props that need to be attached
- Position props near their intended attachment points
- Ensure proper scaling and orientation before attachment
- Consider creating null objects for complex prop positioning
Point Deform Setup
2. Creating Attachments
- Use Point Deform to attach props to specific points on the character
- Take advantage of the T-pose frame for precise initial placement
- Set up proper transformation inheritance
- Configure deformation falloff if needed
The Point Deform setup is crucial for maintaining proper prop placement throughout the animation. Using the T-pose frame as your setup position ensures clean, predictable prop movement when the animation plays.
Advanced Techniques
3. Enhancing Prop Animation
- Create custom attributes for dynamic prop control
- Set up secondary animation for attached props
- Use constraint networks for complex prop behavior
- Implement dynamics for physics-based prop movement
Tips and Best Practices
- Always set up props in the T-pose position first
- Use clear naming conventions for attachment points
- Test prop attachments through the full animation range
- Create backup transforms before finalizing attachments
- Consider using null objects as intermediate attachment points for complex setups
Related Pages
See also:
- Motion Clips - Learn how to set up the character animation system that your props will follow.
- Vellum Cloth Constraint Point Deform - Advanced techniques for cloth simulation with point deform constraints.